OnyxOs Developer Portal Documentation
Actors
The following actors are part of (and specific to) the OnyxOS Developer Portal:
-
Developer : User who can create applications and submit application access requests.
-
Payer Admin : User who acts on behalf of an organization to review application access requests.
-
Organization : A Health Insurance company who is a client affiliated with Onyx Health. A single organization comprises one or more data providers.
-
Data provider : The environment under control of an organization, e.g., an organization’s test or production environments.
Developer Account Registration
To register as a developer for the Developer Portal, complete and submit the registration form.
After successfully registering an account, the user is placed into the “OnyxOS” organization and redirected to the following page:
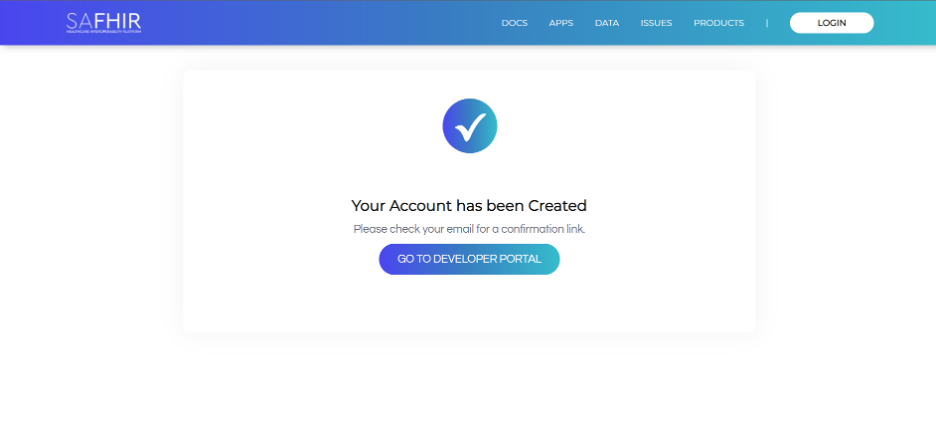
Before the user can log in for the first time, the following steps must be completed:
-
A verification email will be sent to the email address provided during registration.
Click the verification link within the email to confirm your account. This helps us verify your identity and secure your account.
-
If a United States mobile phone number was provided, a welcome text message will be sent to that number.
Text messages are sent using SMS. Non-US phone numbers are not supported at this time.
Developer App Registration
A successful login lands the user on the dashboard homepage:
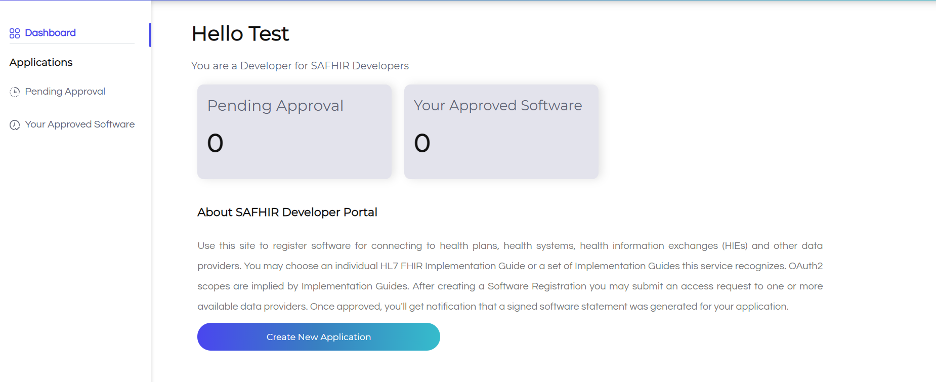
Click on the Create New Application button, which leads to the application registration form which comprises five sections:
- Software Application Details
- Client Details
- Privacy Policy
- Data Security
- Application Access Request
Note: Fields marked with an asterisk (*) are required. The Continue button will remain inactive until all required fields in each step are completed.
-
Application ID and Application Type are pre-set by default and disabled for Patient Access API application creation..
-
The Application ID is a unique auto-generated value and cannot be modified.
-
The Application Type is set to Web by default. Web applications use the OAuth 2.0 authorization code grant type to obtain access tokens for API requests and are configured as Confidential Clients, meaning they can securely maintain credentials.
-
Redirect URIs (also known as Callback URLs) Learn about Redirect URIs specify where the server redirects the user after successful authorization. Each Redirect URI must begin with “https://” or “http://localhost” for local development.
-
After completing the first four sections, the next step is to choose a data provider from the dropdown menu. As a developer registering an application for the first time, your choice of data provider is limited to our sandbox environments.
-
You must choose at least one Implementation Guide (IG) – to learn more about IGs, have a look at our API Documentation.
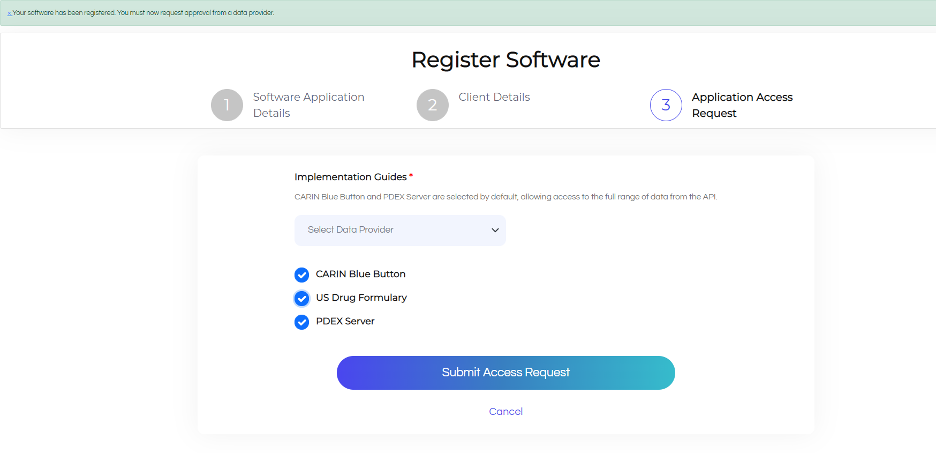
Note: After gaining some experience with using our APIs, contact us at support@safhir.io to request access to our clients’ data providers.
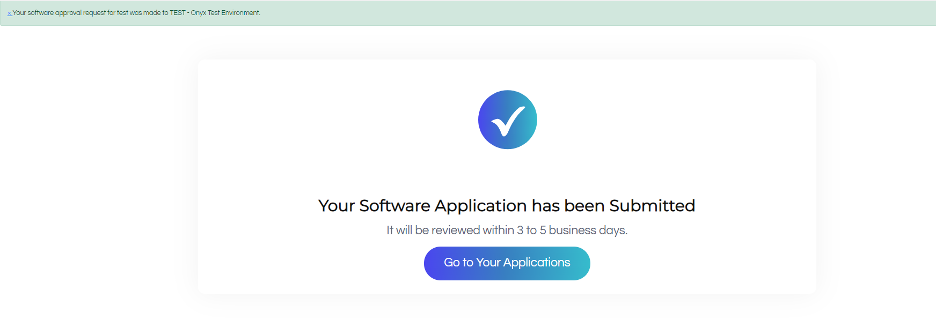
After successfully submitting an application access request, you will land on this page. Click “Go to Your Applications” to go back to your dashboard homepage.
Developer Dashboard Pages
-
When you submit an access application request, all Payer Admins with approval privileges for the requested data provider will be notified.
-
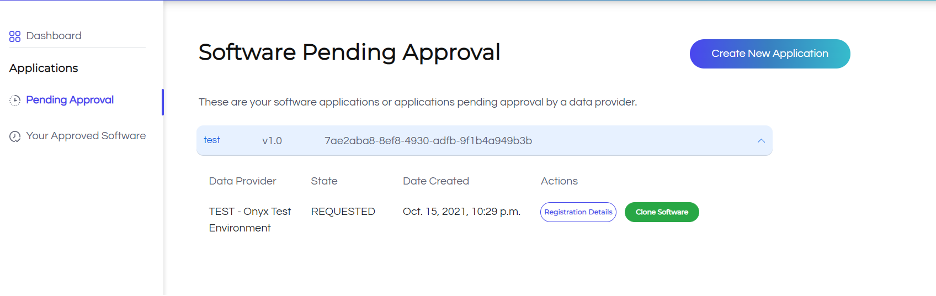
The Pending Approval page lists all applications that are still awaiting approval. Click on any application to view more details and available actions.
-
The Clone Software button opens the application registration form with existing app details pre-filled (except for a new Software ID). This allows you to quickly create another access request for a different data provider with minimal changes.
-
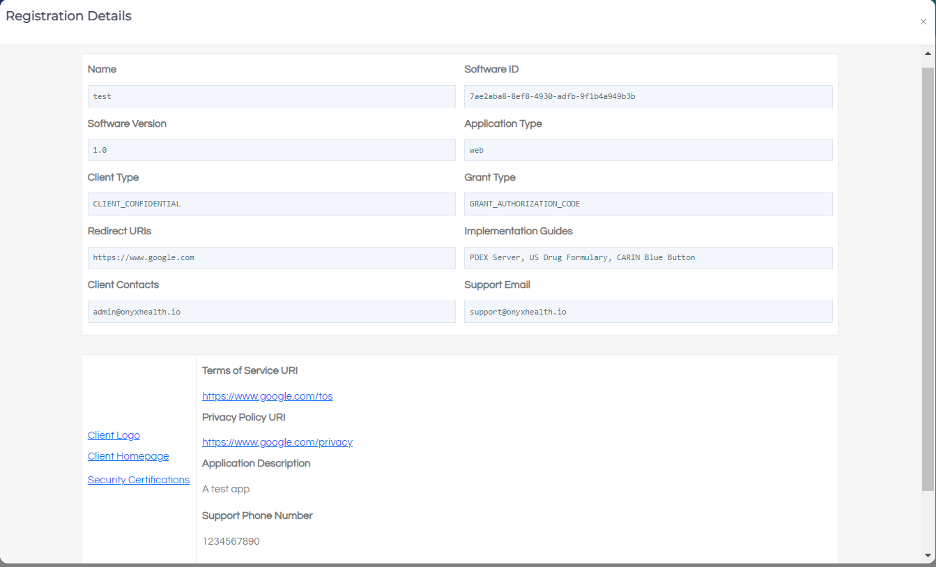
The Registration Details modal displays all the information provided during registration, organized into the same four tabs as seen in the application registration form. This allows You and authorized Payer Admins to review all application details in a structured format.
- When your application is approved, you’ll receive an email notification stating that your application has been approved. The approved application will appear under the Approved tab.
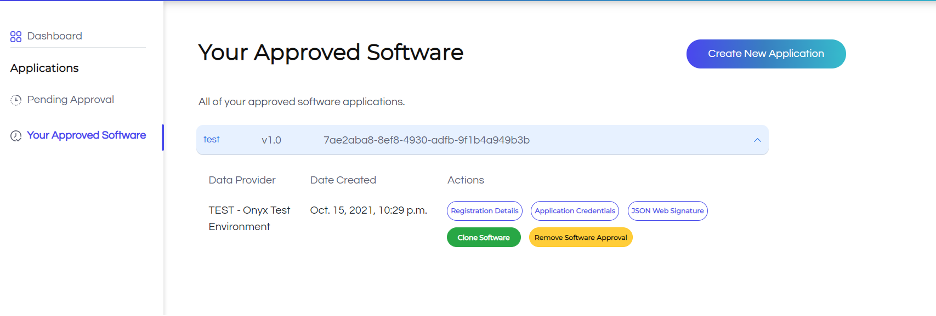
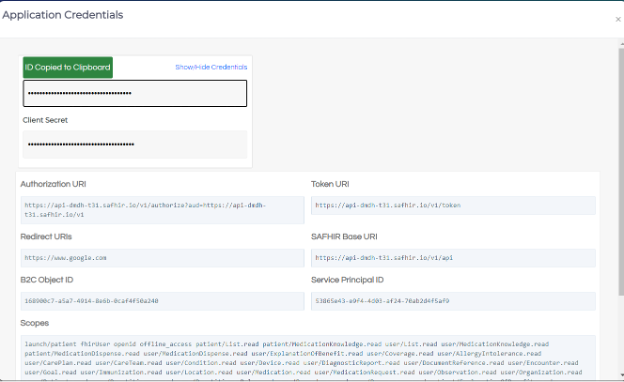
- The Application Credentials button opens a modal displaying the Client ID, Client Secret, and other credentials required to connect to OnyxOS APIs. Simply left-click on any field to copy its value to your clipboard.
-
If your application is rejected, you’ll receive an email stating that your request has been rejected, and the application will appear under the Rejected tab.
-
If an approved application’s access is later revoked by the Payer Admin, you’ll receive an email notification, and the application will appear under the Revoked tab.
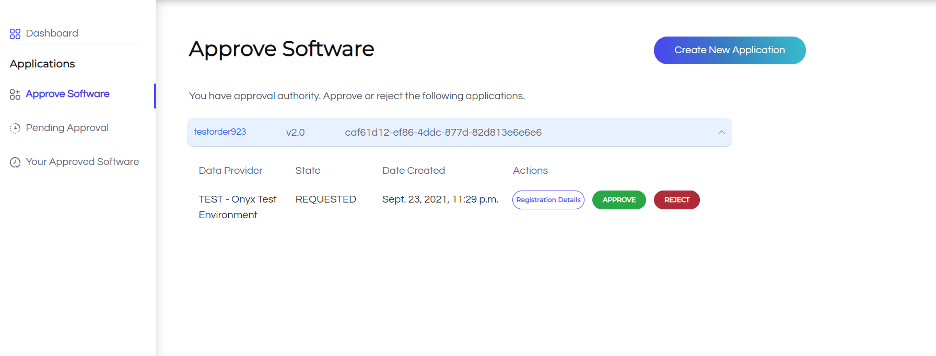
Payer Admin App Access Approval
- As a Payer Admin, under the Pending Apps tab, you’ll see all applications awaiting your review.
- For applications belonging to data providers you have approval privileges for, clicking on an entry will display the Registration Details, Approve, and Reject buttons, allowing you to review and take action accordingly.
-
Payer Admins can review each application’s registration details and choose to approve or reject the request.
-
The approval action registers the application in the data provider’s backend and retrieves the registration credentials. These credentials are then used to authenticate with the data provider when attempting to retrieve data.
-
Selecting either to approve or reject will refresh the page and after a few seconds a confirmation message will appear under the navigation bar.

Notes:
-
An application approval/rejection generates an email notification to the application creator. The email does not contain any identity information about the Payer who approved/rejected the application.
-
The approved application will be added to the master list of approved applications, which is displayed on the APPS page.
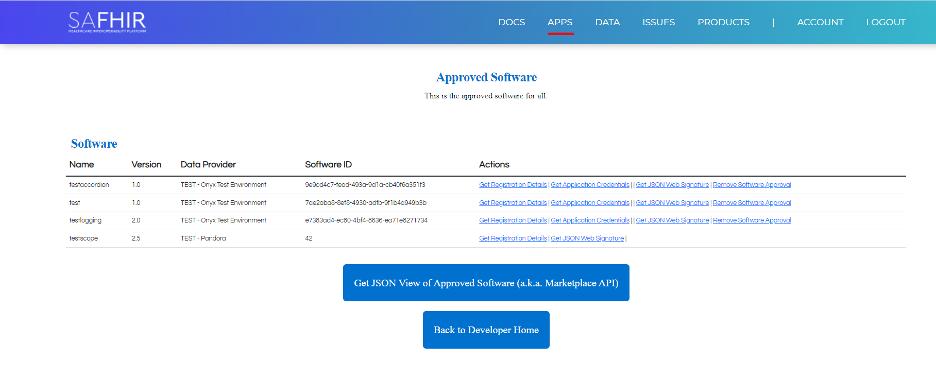
- Payer Admins can view application credentials and revoke application access for any applications created under the data provider(s) for which they have approval privileges.
Requesting Payer Admin Account Access
- To become a Payer Admin for a data provider, you or a member of your organization must share the following details with Onyx:
- First Name, Last Name, Email Address, Organization
- Nickname (optional), Middle Name (optional)
- Once received, Onyx will:
- Create a user profile for the Payer Admin.
- Send the username and temporary password to the registered email.
First Login & Password Setup
-
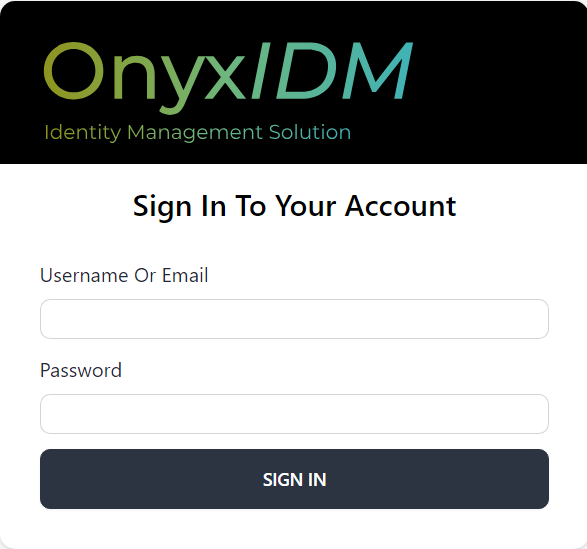
First Login : Go to the OnyxIDM login page and enter the credentials provided by Onyx.
- Reset Password (Authenticated User)
- From the Profile section, click Reset Password and create a new one.
No identity verification is required as you’re already logged in.
- From the Profile section, click Reset Password and create a new one.
- Forgot Password (Unauthenticated User)
- On the login page, click Forgot Password.
- Enter your username or email to receive a reset link.
- Open the link and set a new password.
Developer Sandbox access
The credentials for a particular application include client ID, client secret, authorization URI, token URI, OnyxOS base URI, redirect URIs, and scopes.
There are a few ways to execute the OAuth 2.0 flow to access the Developer Sandbox – the following steps describe one method using a browser and curl:
1. Request authorization code
Construct a URL with the following format in a text editor:
> <<ONYXOS_BASE_URI>>&response_type=code&client_id=<<<YOUR_CLIENT_SECRET>>
&redirect_uri=<<YOUR_REDIRECT_URI>>&scope=<<YOUR_SCOPES>>
For example, your URL might look something like this:
> https://api-dmdh-alpha.safhir.io/v1/authorize?aud=https://api-dmdh-alpha.safhir.io/v1&response_type=code&client_id=9ce0c09c-692f-4b7f-9aba-53db99f722f0&redirect_uri=https://www.google.com&scope=launch/patient fhirUser openid offline_access patient/List.read
-
If more than one redirect URI was registered for your application, you can use any one of them. Each scope within the scope parameter must be separated by a space as shown.
-
Enter your URL into a browser. You should be redirected to the following login page.
-
Log in using the credentials for one of our test accounts.
Upon successful login, your browser will take you to the redirect URI. Within the URL body, the state and code parameters are included. For example, if your redirect URI is https://www.google.com, the URL may look like this:
> https://www.google.com/?state=y1FrnAVa1aN1MrF9Rpr4Qtv0D1g4zP&code=eyJraW QiOiJ6SlVMZ2VILTRXczM5RkZMWllxd0x1VS1Yd0xOT1RXdmlKMDRqVmNZcmQwIiwidmVyIjoiMS4wIiwiemlwIjoiRGVmbGF0ZSIsInNlciI6IjEuMCJ9...(more not included)
Note: Take note of the code parameter, which will be used in the next step.
2. Get access token
Using curl, run this command in the terminal using your corresponding application credentials.
curl --location --request POST \
--url '<<YOUR_TOKEN_URI>>' \
--header 'Content-Type: application/x-www-form-urlencoded' \
--data-urlencode 'grant_type=authorization_code' \
--data-urlencode 'redirect_uri=<<YOUR_REDIRECT_URI>>' \
--data-urlencode 'code=<<YOUR_CODE>>' \
--data-urlencode 'client_id=<<YOUR_CLIENT_ID>>' \
--data-urlencode 'client_secret=<<YOUR_CLIENT_SECRET>>'
In exchange for your credentials, the authorization server returns your access token in the access_token field as shown in this sample response:
{
"access_token": "eyJhbGciOiJSUzI1Ni...rm8xA",
"token_type": "Bearer",
"expires_in": 3600,
"id_token": "eyJhbGciOiJSUzI1NiIsInR5c...WuQ0w",
"patient": "7cf077e8-4e55-42d0-ae95-5e225511ab43",
"scope": "patient/Coverage.read patient/ExplanationOfBenefit.read patient/Organization.read patient/Patient.read",
"refresh_token": "eyJraWQiOiJ6SlVMZ2VIL...t9wCQ"
}
Note: The access token will expire in 3600 seconds (1 hour) from when the response was generated.
3. Make API calls
You must include this access token in the Authorization header with the Bearer authentication scheme in every subsequent API call, as shown in this sample request:
curl --location --request GET \
--url 'https://api-dmdh-alpha.safhir.io/v1/api/carin-bb \
/ExplanationOfBenefit' \
--header 'Authorization: Bearer <<YOUR_ACCESS_TOKEN>>
See the API Documentation for further guidance, which includes our Postman Collections.
Developer Sandbox test accounts
Here are a set of test users with passwords:
| UserID | Password | Name |
|---|---|---|
| Vida.Sipes@onyxhealth.io | Abcd1234@ | Vida Sipes |
| Angelia.Abernathy@onyxhealth.io | Track@01 | Abernathy@onyxhealth.io |