Actors
The following actors are part of (and specific to) the OnyxOS Provider Portal:
-
Provider : User who can create applications and submit application access requests.
-
Payer Admin : User who acts on behalf of a payer organization to review and approve provider access requests.
-
Organization : A healthcare provider organization affiliated with Onyx Health. A single organization may operate across one or more data providers.
-
Data Provider : The environment under control of a payer organization, e.g., an organization’s test or production environments.
Provider Account Registration
To register as a provider for the Provider Portal, complete and submit the registration form.
After successfully registering an account, the user is redirected to the following page:
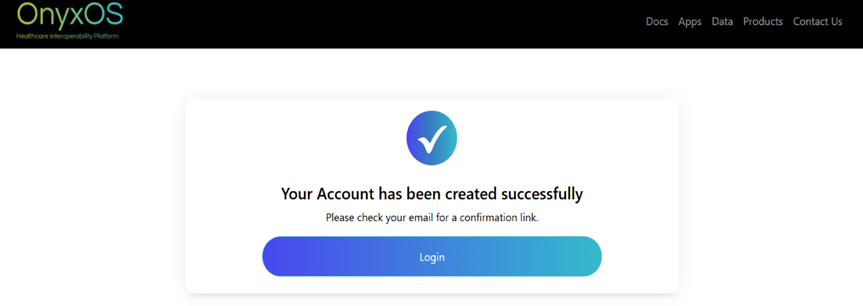
Before the user can log in for the first time, the following steps must be completed:
-
A verification email will be sent to the email address provided during registration.
Click the verification link verify my email address within the email to confirm your account.
-
If a United States mobile phone number was provided, a welcome text message will be sent to that number.
Text messages are sent using SMS. Non-US phone numbers are not supported at this time.
-
An activation request is sent to the OnyxOS Agent for approval.
Note: You can log in only after the OnyxOS Agent approves your account and after verifying your email address.
Application Creation Flow
Provider Access API
Click on Create New Application button a dialog will appear prompting you to select the type of application to create. Select Provider Access API.
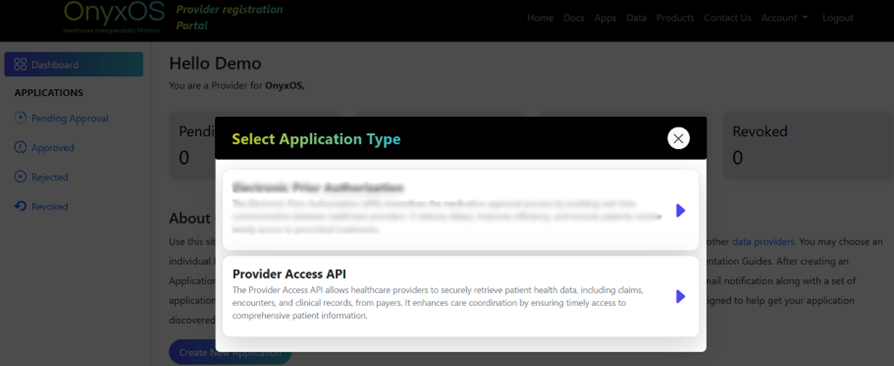
After selecting an application type, you will be presented with an application registration form which comprises three sections:
- Application Details
- Client Details
- Application Access Request
Note: Fields marked with an asterisk (*) are required. The Continue button remains inactive until all required fields in each step are completed.
-
Application ID and Application Type are pre-set by default.
-
The Application ID is a unique auto-generated value and cannot be modified.
-
The Application Type is set to Service by default. Service machine-to-machine applications use the OAuth 2.0 client credentials grant type and are configured to authenticate without user interaction.
-
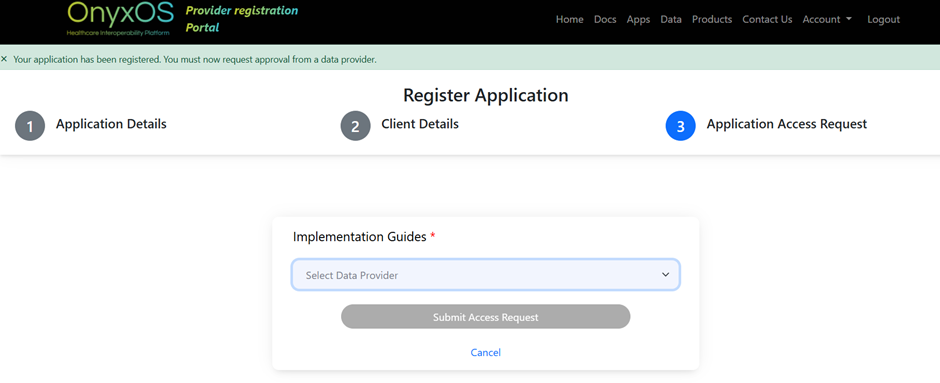
After completing the first two sections, the next step is to choose a Data provider from the dropdown menu. As a provider registering an application for the first time, your selection is restricted to our sandbox environments. Please ensure that “TEST OnyxOS Sandbox” is selected as the Data Provider.
-
You must choose at least one Implementation Guide (IG). To understand more about the APIs and IGs in detail, please refer to the corresponding API Documentation.
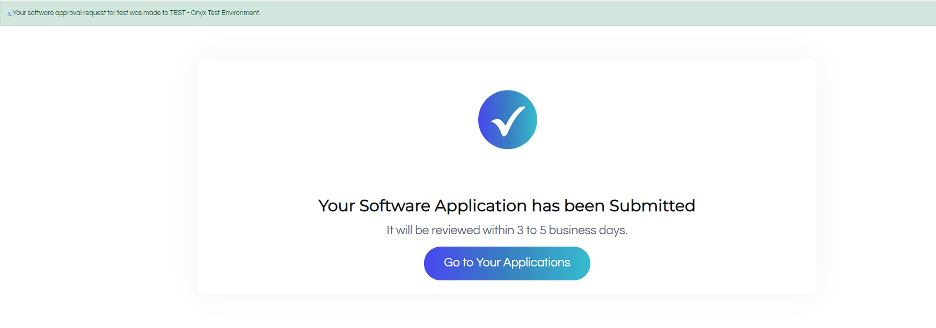
After successfully submitting an application access request, you will land on the following page. Click Go to Your Applications to return to your dashboard homepage.
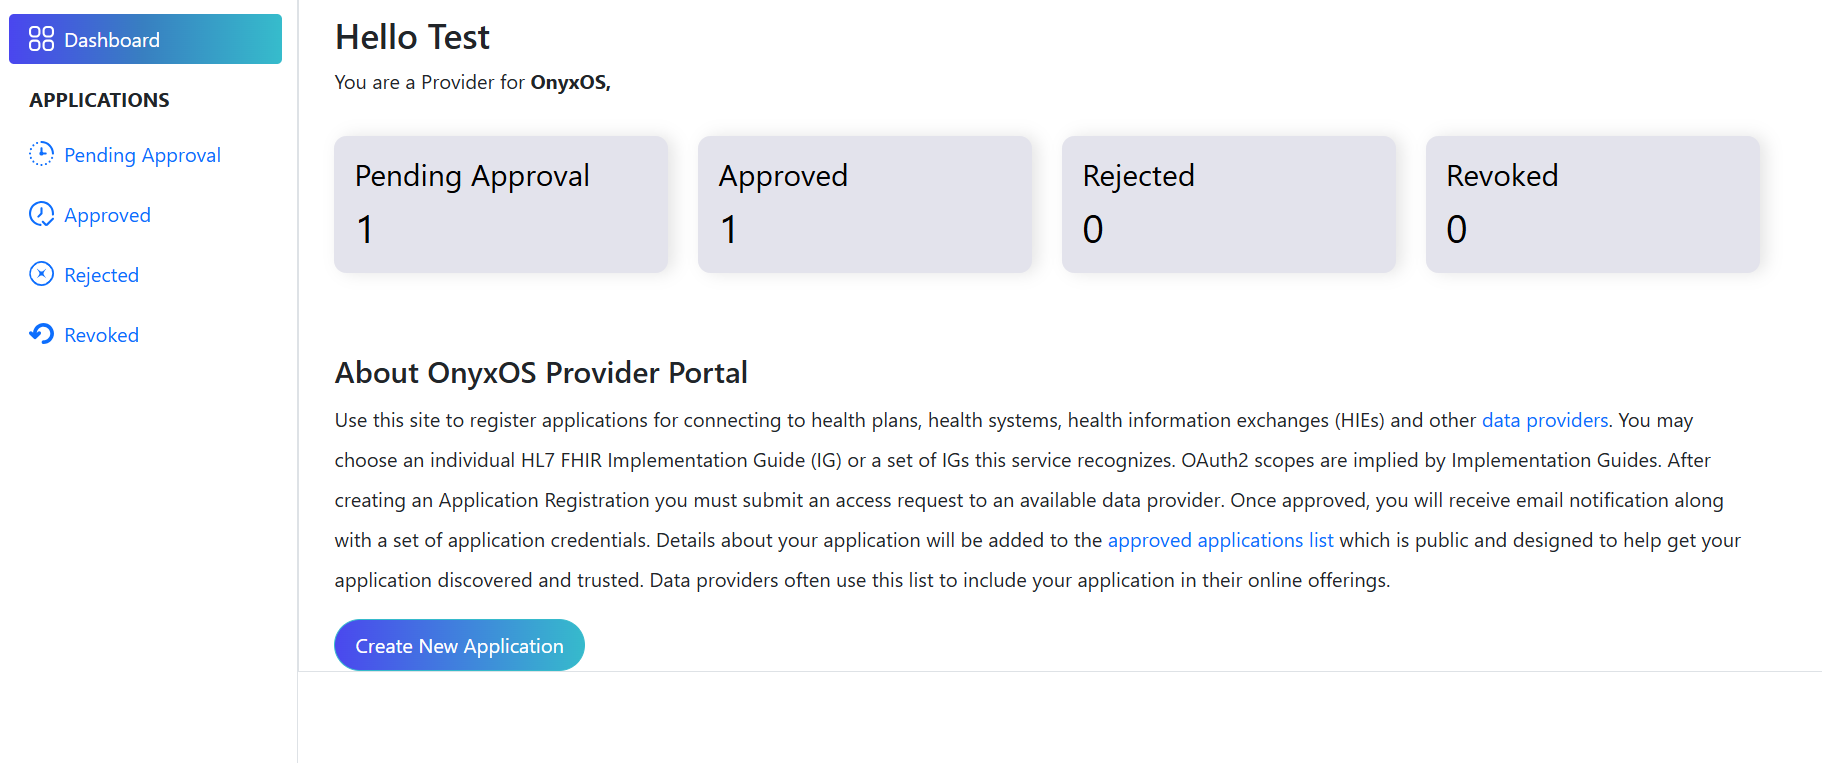
Provider Dashboard Pages
After logging in, you will be redirected to the provider dashboard page where you can view application statuses under Pending Approval, Approved, Rejected, and Revoked tabs, and Clicking on each tab will navigate you to the respective page where you can view detailed application statuses.
-
When you submit an application access request, all Payer Admins with approval privileges for the requested data provider will be notified.
-
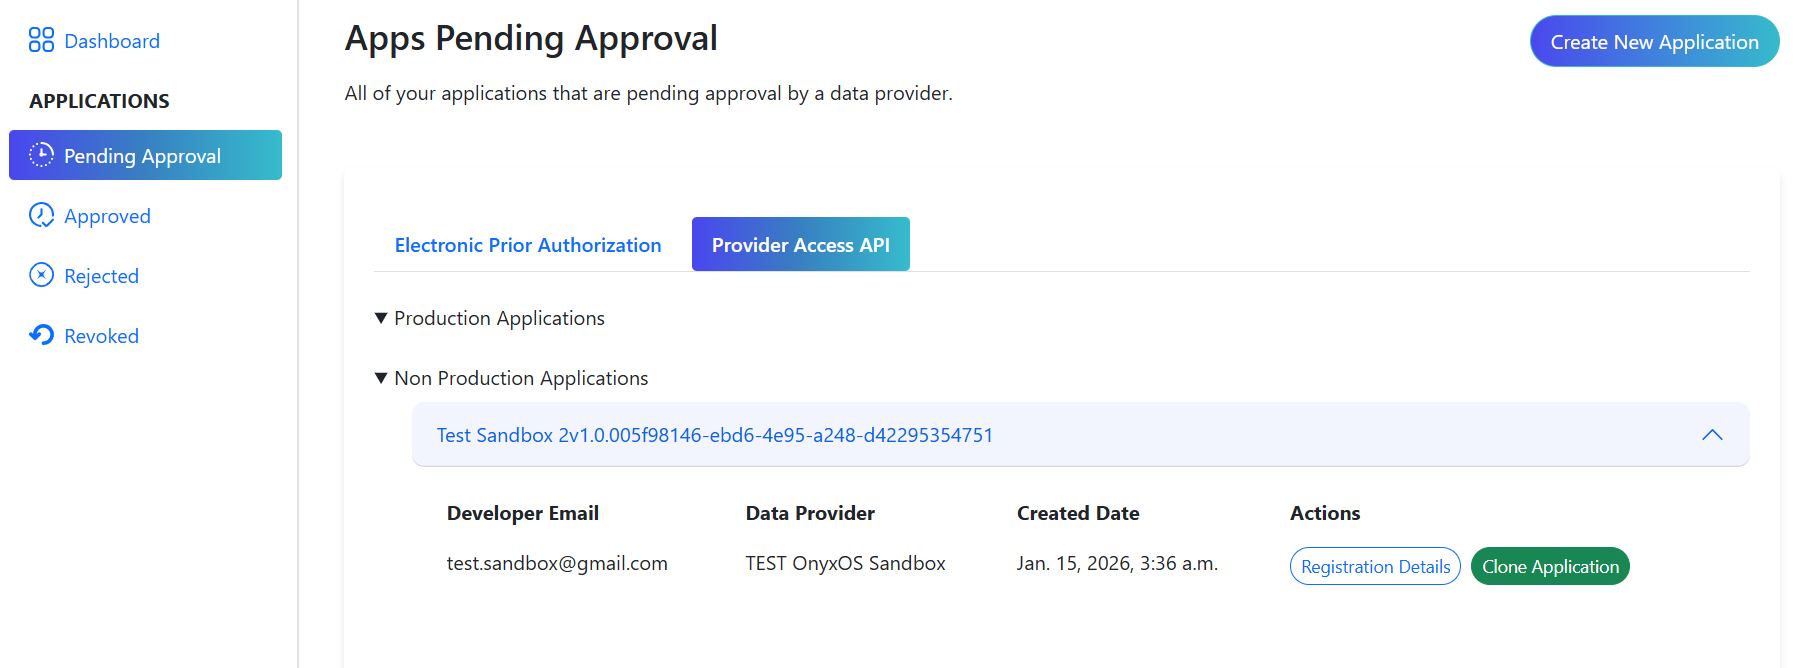
The Pending Approval page lists all applications that are awaiting approval. Click on any application to view more details and available actions.
-
The Clone Software button opens the application registration form with existing app details pre-filled (except for a new Software ID). This allows you to quickly create another access request for a different data provider with minimal changes.
-
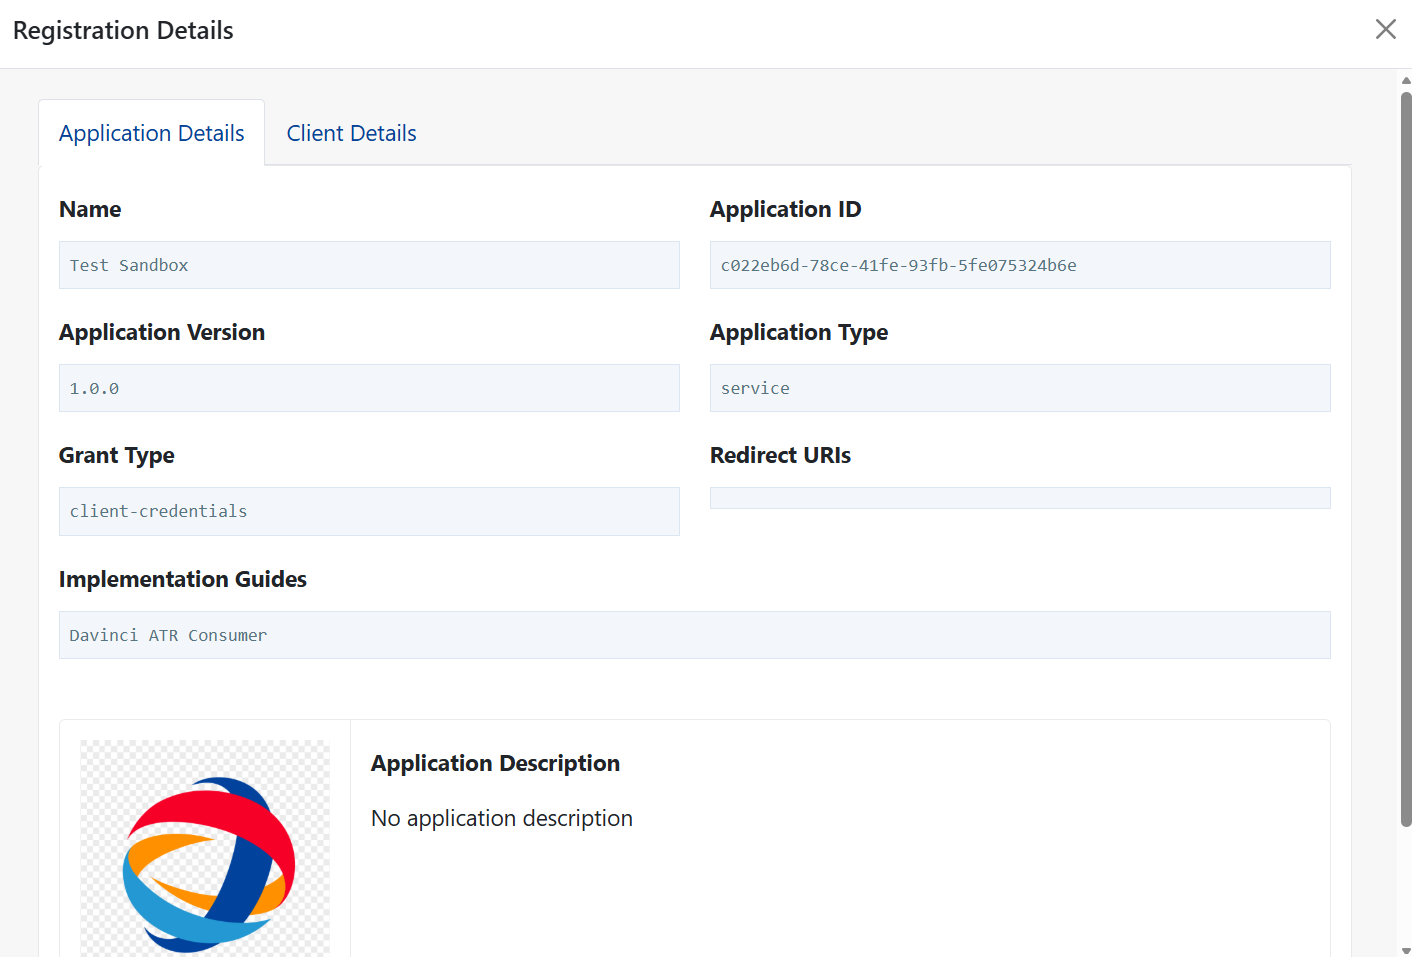
The Registration Details modal displays all the information provided during registration, organized into the same two tabs as seen in the application registration form. This allows You and authorized Payer Admins to review all application details in a structured format.
- When your application is approved, you will receive an email notification stating that your application has been approved. The approved application will appear under the Approved tab.
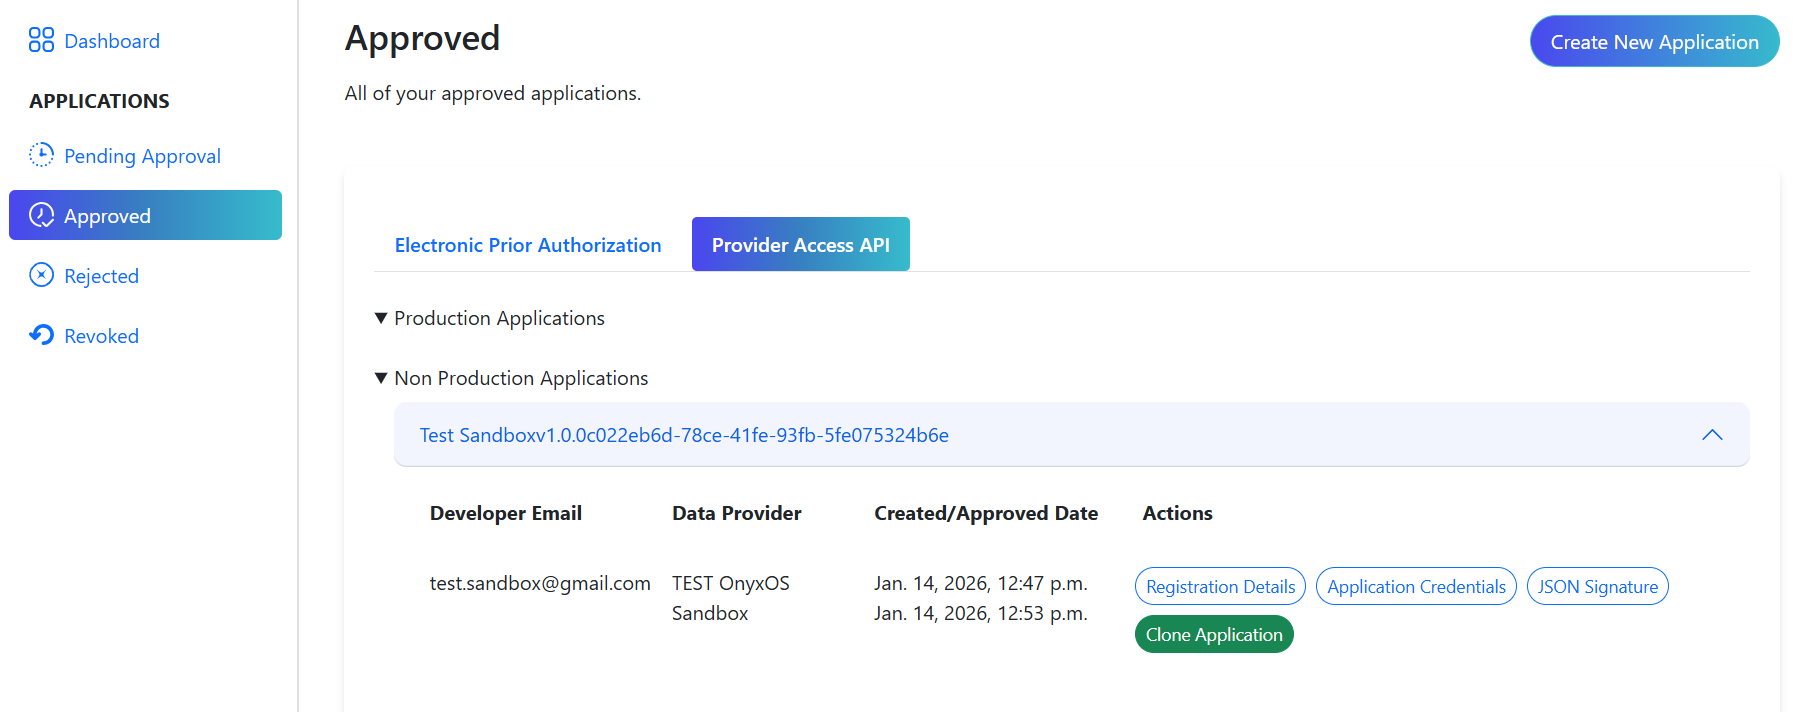
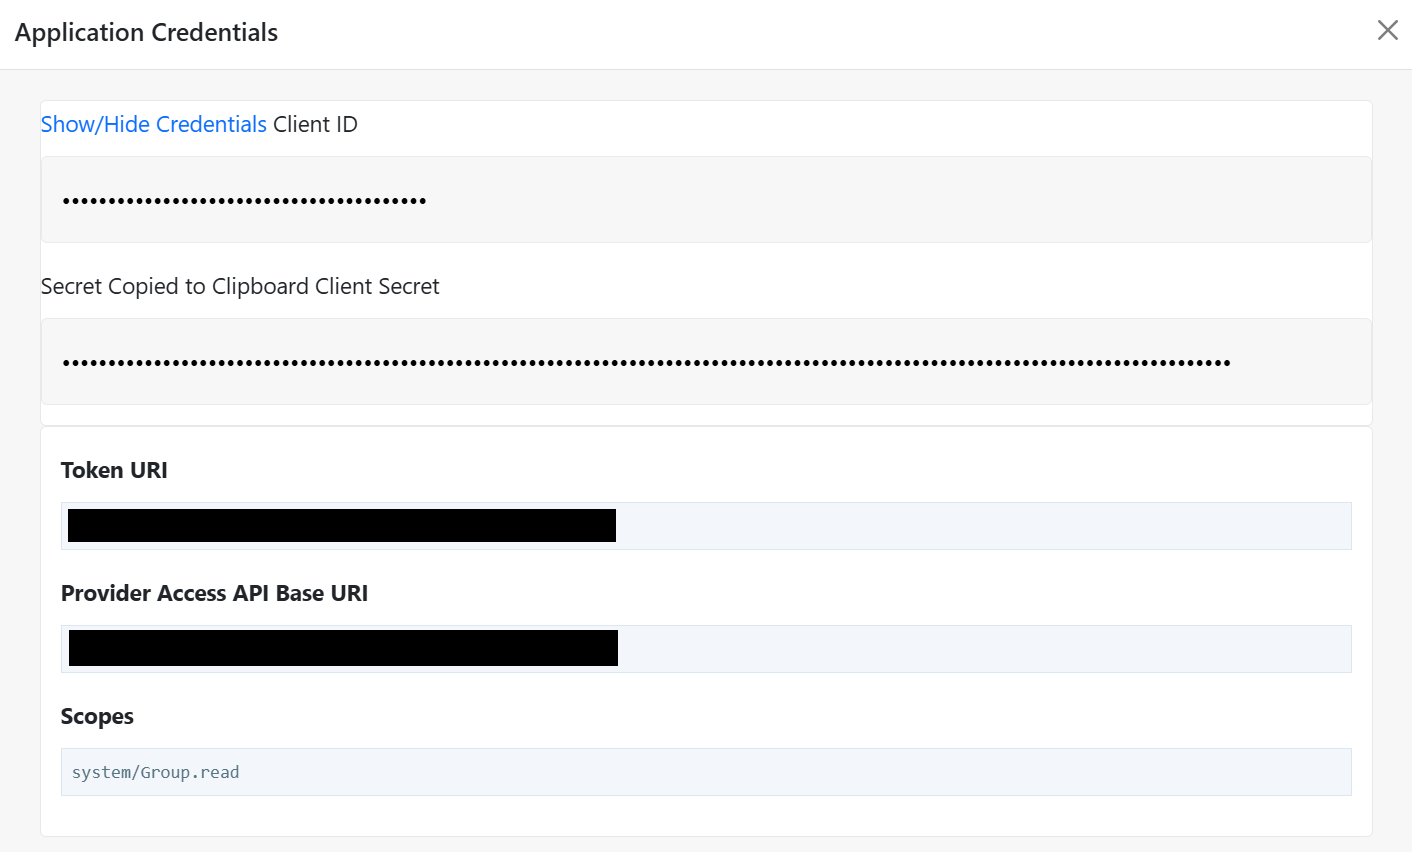
- The Application Credentials button opens a modal displaying the Client ID, Client Secret, and other credentials required to connect to OnyxOS APIs. Simply left-click on any field to copy its value to your clipboard.
-
If your application is rejected, you will receive an email notification stating that your request has been rejected, and the application will appear under the Rejected tab.
-
If an approved application’s access is later revoked by the Payer Admin, you’ll receive an email notification, and the application will appear under the Revoked tab.
Provider Sandbox access
The credentials for a particular application include client ID, client secret, token URI, OnyxOS base URI, and scopes.
There are a few ways to execute the OAuth 2.0 client credentials flow to access the Provider Sandbox – the following steps describe one method using curl:
1. Get access token
Using curl, run this command in the terminal using your corresponding application credentials:
curl --location --request POST \
--url '<<YOUR_TOKEN_URI>>' \
--header 'Content-Type: application/x-www-form-urlencoded' \
--data-urlencode 'grant_type=client_credentials' \
--data-urlencode 'client_id=<<YOUR_CLIENT_ID>>' \
--data-urlencode 'client_secret=<<YOUR_CLIENT_SECRET>>' \
--data-urlencode 'scope=<<YOUR_SCOPES>>'
In exchange for your credentials, the authorization server returns your access token in the access_token field as shown in this sample response:
{
"access_token": "eyJhbGciOiJSUzI1Ni...rm8xA",
"token_type": "Bearer",
"expires_in": 3600,
"scope": "system/Group.read system/Patient.read system/Coverage.read"
}
Note: The access token will expire in 3600 seconds (1 hour) from when the response was generated.
2. Make API calls
You must include this access token in the Authorization header with the Bearer authentication scheme in every subsequent API call, as shown in this sample request:
curl --location --request GET \
--url '{base_url}/Group/$group-discovery' \
--header 'Authorization: Bearer <<YOUR_ACCESS_TOKEN>>' \
See the API Documentation for further guidance, which includes our Postman Collections.
Note: After gaining some experience with using our APIs, contact us at support@safhir.io to request access to our clients’ data providers.
Provider Sandbox Test Data
| Group | Provider | Patient |
|---|---|---|
Group Name: Group ATR 1Group Identifier: 1004000000100Group ID: 14fda50b-642e-47e0-b638-940389fbe4fe
|
Provider NPI: 1004000000Provider Reference: 4bec7c35-04a3-4306-a3e5-8d21870a97b0
|
Member ID: Patient-Test-13672Patient Reference: 7ee8d41f-6966-4be8-85cb-baa7ba78f72c
|
Member ID: PAT-PAA-10002Patient Reference: df1db0f9-28c7-4bf0-ad1b-b076ff623a64
|
||
Member ID: PAT-PVA-10001Patient Reference: d7ab63c2-bc67-482c-ab51-b959e97bf75d
|